
Sub-Total: $0.00
Professional Grade Holiday Light Display Tips
| Blog
Table of Contents
- Planning Your Professional Grade Holiday Light Display
- Choosing Commercial Grade Christmas Lights for Home Displays
- Animated Holiday Light Display Setup: A Step-by-Step Guide
- Holiday Lighting Safety and Maintenance: Electrical Load and Weatherproofing
- Architectural Integration and Smart Automation for a Seamless Look
- Post-Season Removal and Tangle-Free Storage Best Practices
- Conclusion: Elevate Your Holidays with Professional Grade Tips
- Frequently Asked Questions
Last Updated: September 28, 2026
Planning Your Professional Grade Holiday Light Display
A professional grade holiday light display starts on paper, not on a ladder. Homeowners who end up with clean rooflines and even spacing measured first, mapped every outlet, and bought materials before the first strand went up. The Holiday Light Store has watched this play out for years: the displays that survive December storms are planned in October.

Creating an Installation Masterplan and Measuring Requirements
An installation masterplan is a simple diagram of your property with every light run, outlet, and connection point marked. Walk your yard at dusk and note the features you want to highlight: the roofline, porch columns, gables, and focal points like a large tree.
Pro Tip
Photograph your house from the street before you plan anything. Most homeowners plan from the ground up, but the display is judged from the curb. A photo reveals which rooflines read clearly and which get lost behind shrubs.
Photograph your house from the street before you plan anything. Most homeowners plan from the ground up, but the display is judged from the curb. A photo reveals which rooflines read clearly and which get lost behind shrubs.
Choosing Commercial Grade Christmas Lights for Home Displays
Commercial grade Christmas lights for home displays are built to a different standard than big-box strands. The differences show up in wire gauge, socket construction, connector design, and how the set behaves after freeze-thaw cycles, and understanding them lets you decide where to spend and where to save.
What Actually Separates Commercial Grade from Retail Grade
The most useful way to compare is by construction, not by marketing claims.
| Feature | Retail Grade | Commercial Grade |
|---|---|---|
| Wire gauge | Thin, often 22-24 AWG | Heavier, typically 18-20 AWG |
| Sockets | Molded and sealed shut | Replaceable, weather-sealed |
| Connection | Fused plug, limited runs | Stackable male/female plugs |
| Bulb | Often non-replaceable | Individually replaceable |
| Lifespan | Frequently one season | Multiple seasons with maintenance |
Connector Standards and Why They Matter
Most commercial-grade sets use stackable male/female plugs that let you daisy-chain runs without adapters, meaning fewer weather-exposed connection points and a cleaner roofline. Look for sets rated for wet locations and check the manufacturer’s maximum run length, exceeding it is a common cause of dimming and premature failure.
The Cost-Benefit Case for Commercial Grade
Commercial-grade sets cost more up front, but the relevant comparison is cost per season. A retail set that fails in January and gets replaced yearly costs more over three seasons than a commercial set that lasts five. Add the labor of re-climbing a ladder mid-season, and the math tilts further toward commercial grade for any run you cannot easily reach.
Color Temperature and Consistency
Key Takeaway
Buy commercial grade for the runs you cannot easily reach and the areas that face the worst weather. Buy retail grade for short, protected, easy-to-replace runs. The upgrade pays for itself in avoided mid-season repairs, not in the sticker price.
Buy commercial grade for the runs you cannot easily reach and the areas that face the worst weather. Buy retail grade for short, protected, easy-to-replace runs. The upgrade pays for itself in avoided mid-season repairs, not in the sticker price.
Animated Holiday Light Display Setup: A Step-by-Step Guide
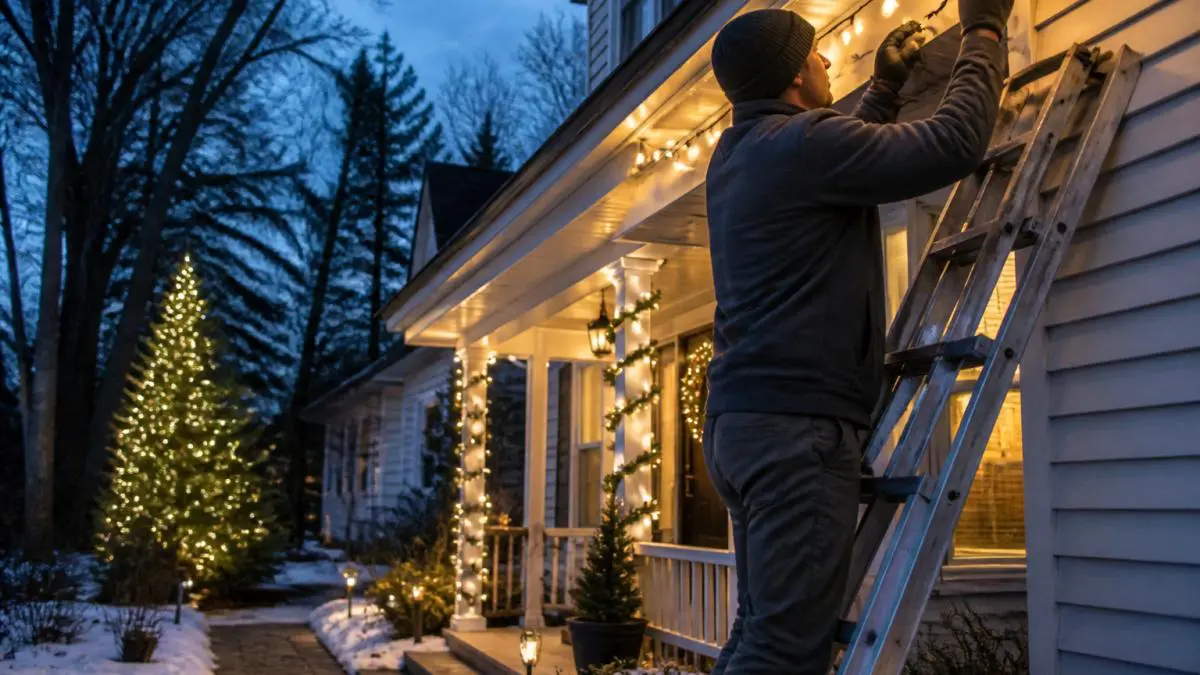
Animated holiday light display setup follows the same sequence every time: test, secure, connect, then power. Skipping testing is the most common mistake, because a failed strand found on the roof costs an hour of ladder work.
- Unbox every strand and test it on the ground before hanging anything.
- Lay out runs along the planned path to confirm length and spacing.
- Attach mounting clips or roofline clips to the structure first, then clip the wire in.
- Connect strands using male/female plugs, keeping connections off the ground.
- Seal exposed connections with weatherproofing tape or covers.
- Power the full run and walk the perimeter to check for dark sections.
- Secure loose wire with zip ties, leaving slight slack for wind movement.
Testing Lights and Securing Connections Before Hanging
Test every strand, extension cord, and controller before anything goes up. Plug in the full sequence on the ground and run a complete animation cycle, this catches flickering sockets, dead sections, and controller glitches while everything is still at arm’s reach.
Watch Out
Never leave a connection lying in a gutter or at the base of a downspout. Water wicks into the plug, corrodes the contacts, and takes out the entire downstream run, often mid-season when replacement stock is gone.
Never leave a connection lying in a gutter or at the base of a downspout. Water wicks into the plug, corrodes the contacts, and takes out the entire downstream run, often mid-season when replacement stock is gone.
Holiday Lighting Safety and Maintenance: Electrical Load and Weatherproofing
Holiday lighting safety and maintenance comes down to two numbers: how much power your display draws and how much your circuit can carry. Get those wrong and you get breaker tripping, overheated cords, or worse.
Managing Circuit Capacity and Preventing Breaker Tripping
Add up the amperage of every strand on a circuit and keep the total under eighty percent of the breaker’s rating. A standard household circuit is 15 amps, so plan for roughly 12 amps of lighting per circuit. Most LED strands draw well under an amp, but incandescent sets draw far more, and a mixed display adds up fast.
Key Takeaway
Two numbers prevent most electrical failures: total amperage per circuit and distance from the power source. Check both before you buy materials, not after the breaker trips.
Two numbers prevent most electrical failures: total amperage per circuit and distance from the power source. Check both before you buy materials, not after the breaker trips.
Architectural Integration and Smart Automation for a Seamless Look
The displays that look professionally installed share one trait: the lights follow the architecture instead of fighting it. Done well, this is what separates a display that looks bought from one that looks built.
Reading the Architecture Before You Hang Anything
Walk the property at dusk and identify the lines that define the house: the main roofline, gable peaks, porch columns, window frames, and strong horizontal or vertical trim. Trace those lines with light rather than covering the house in it, a single clean roofline run often reads better than three competing runs at different angles.
Smart Controllers, Timers, and Scheduling
Smart automation is where most guides stop short. A basic plug-in timer handles on/off, but a programmable controller lets you schedule different looks for different evenings, dim sections independently, and run animations without touching the display.
Power Injection and Signal Integrity for Animated Runs
Once you move past static lights, two technical problems appear. The first is voltage drop: on long pixel runs, lights at the far end dim or shift color because voltage has fallen. The fix is power injection, feeding power into the run at intervals rather than only at the start. The second is signal integrity: data lines are sensitive to length and interference, so keep data runs short and avoid running them parallel to power lines.
Where Craftsmanship Fits In
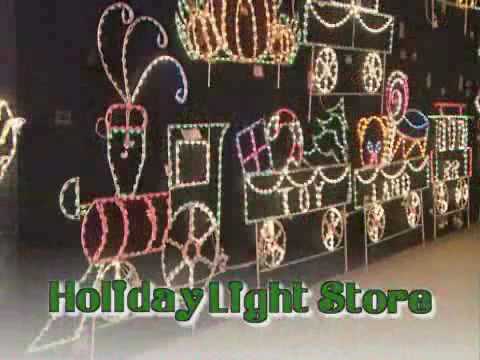
For custom or animated pieces, craftsmanship separates categories. Handmade, powder-coated light sculptures hold their finish and frame shape season after season, which matters when the piece is the centerpiece of an animated sequence and you want a focal point that anchors the whole display.
Post-Season Removal and Tangle-Free Storage Best Practices
How you take a display down determines how easy next November is. Removal is its own process, and rushing it costs you hours the following year.
- Take lights down in dry weather, never after rain, so moisture does not get sealed into storage.
- Remove clips and fasteners into a labeled container rather than leaving them on the structure.
- Coil each strand over your forearm or a reel, never ball it up.
- Store strands in labeled bins by length and color.
- Keep controllers and power supplies indoors, in a dry, temperature-stable spot.
- Inspect each strand as you pack it, and note any failures for repair or replacement.
Pro Tip
Label each bin with the run it belongs to, not just the color. “Front roofline, 40 ft” saves far more time than “warm white,” because you know exactly where it goes before you climb the ladder.
Label each bin with the run it belongs to, not just the color. “Front roofline, 40 ft” saves far more time than “warm white,” because you know exactly where it goes before you climb the ladder.
Conclusion: Elevate Your Holidays with Professional Grade Tips
A display that dazzles for years is built on planning, commercial-grade materials, and safe electrical practice, not luck. Homeowners who get this right treat it like a small project: measure, test, secure, and store properly.
Frequently Asked Questions
How do I make my Christmas lights look professional?
Start with a masterplan: sketch your rooflines, measure distances, and pick a color temperature (warm white vs cool white) for consistency. Use commercial-grade LED lights with roofline clips and zip ties for clean lines. Space lights evenly and secure cords with mounting clips. Test everything before hanging, and keep extension cord management tidy with bulk wire and male/female plugs. Symmetry and focal points matter as much as the lights themselves.
What equipment do professional holiday light installers use?
Pros rely on commercial-grade LED strands, weatherproof extension cords, GFCI outlets, and professional fasteners like roofline clips and shingle tabs. They also use zip ties, mounting clips, and light strand testers. For animated displays, they incorporate controllers and smart integration. Safety gear includes gloves and ladders. Bulk wire and male/female plugs allow custom lengths, reducing voltage drop and clutter.
How can I create an animated holiday light display?
Animated displays require a controller that syncs lights to music or patterns. Start with a small setup: one controller and a few strands. Plan your animated holiday light display setup by mapping which lights go where, ensuring you don’t exceed circuit capacity. Use commercial-grade lights rated for outdoor use. Test the sequence before mounting. Many homeowners hire a professional for complex animations, but DIY kits are available for beginners.
What is the difference between retail and professional-grade holiday lights?
Retail lights often use thin wires and plastic housings that crack in cold. Commercial-grade lights have thicker insulation, UV-resistant jackets, and sealed connections that resist moisture. They also last longer and maintain brightness. For example, commercial-grade LED strings often come with weatherproofing and are designed for permanent or repeated seasonal use. That’s why they cost more upfront but save money over time.
How do I secure light sculptures in windy areas?
Use ground stakes or weighted bases for sculptures. For roofline pieces, attach with heavy-duty clips and zip ties. Ensure all connections are tight and consider adding guy wires for tall items. Powder-coated metal frames resist corrosion and hold up better in wind. Check local wind patterns and position sculptures in sheltered spots if possible. After storms, inspect for loose connections and damage.
How many light strands can I run on one outlet?
Calculate total amperage: most household circuits are 15 or 20 amps. Divide wattage by voltage (120V) to get amps. Keep load under 80% of breaker capacity. For example, a 15-amp circuit can handle about 1440 watts. LED lights use far less power than incandescent. Use a circuit map to distribute load and avoid breaker tripping. GFCI outlets are required outdoors for safety.
The difference between a display that survives the winter and one that ends up in a bin by February is rarely budget. It is method. Get your measurements, loads, and storage right, and the rest of the season takes care of itself.
