
Sub-Total: $0.00
Custom Outdoor Holiday Light Design Process: 2026 Guide
| Blog
Table of Contents
- Start with a Holiday Lighting Design Plan
- Mapping and Measuring Christmas Lights Across Your Property
- Build a Holiday Light Display Layout That Looks Cohesive
- Choose Lights, Clips, and Outdoor-Rated Equipment
- DIY vs. Professional Christmas Light Installation
- Power, Safety, and Weatherproofing Your Custom Display
- Installation Day: Attach, Test, and Troubleshoot
- Conclusion
- Frequently Asked Questions
Last Updated: October 12, 2026
Start with a Holiday Lighting Design Plan
A custom outdoor holiday light design process starts with one page of paper, not a shopping cart. That page is your holiday lighting design plan, and it decides everything that follows: where the light goes, how much you need, and what you plug in where.
Most displays fail for a boring reason. Not bad lights. No plan. The fix is to treat the design like a small project with defined stages, decisions, and deliverables, the same way a lighting designer would. Here is the end-to-end workflow, with what you actually produce at each stage.
Stage 1, Discovery and consultation. Before any measuring, capture what the homeowner actually wants. Walk the property together (or review photos if you are planning remotely) and answer four questions: What is the goal, subtle accent or full show? What is the budget ceiling? How long should the display run, one season or reusable for years? Who is maintaining it?
Stage 2, Property survey and photo capture. Photograph the front elevation from the street at dusk and again at night, plus close-ups of the roofline, entryway, windows, trees, and every outdoor outlet. Note the surface types you will attach to, asphalt shingles, standing-seam metal, vinyl soffit, gutters, brick, stucco, because each one dictates a different clip and a different risk of damage.
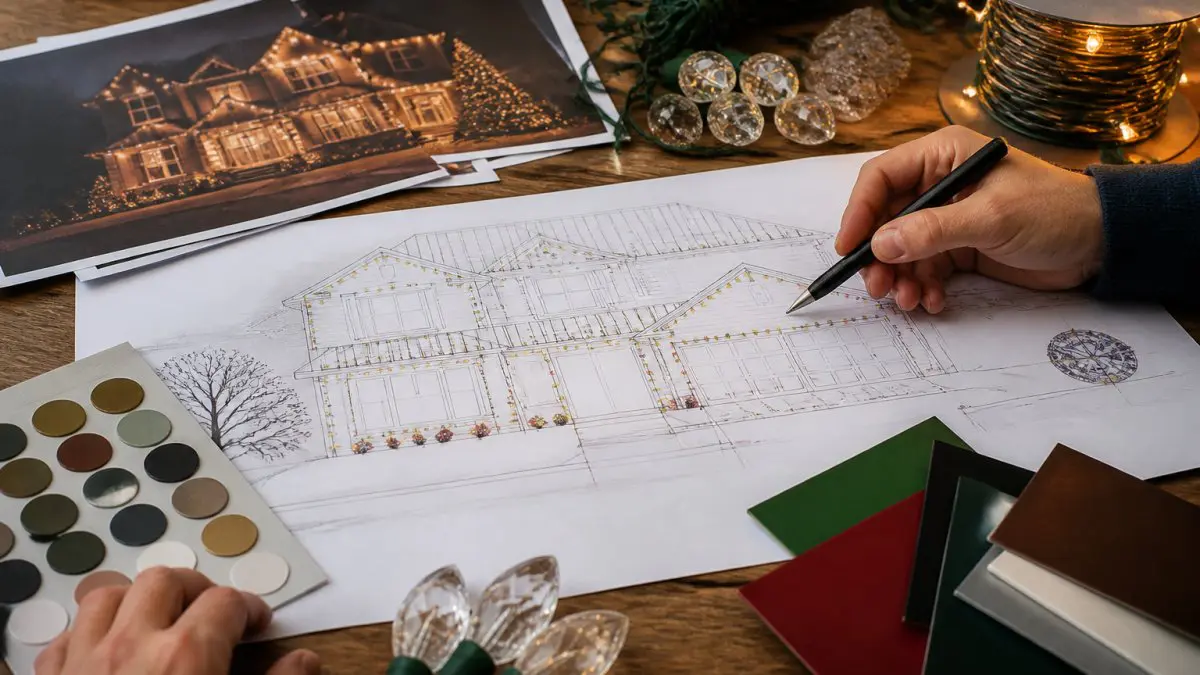
Stage 3, Concept and visualization. Sketch the design over your dusk photo. Show the focal point, the zones, and the color plan in one view. For a more polished approval step, a simple mockup, a printed photo with colored marker lines, or a basic overlay in any photo editor, is enough for most homeowners to say yes or adjust.
Stage 4, Design plan document. Turn the approved concept into a one-page plan that includes:
- Focal point: the one spot people notice first, usually the front door or a large tree
- Zones: roofline, entryway, windows, landscape, and any architectural features
- Style: warm white, multicolor, or animated
- Power plan: which outlets feed which zones, and the circuit each outlet uses
- Budget range: a rough cap before you buy anything
- Run lengths: the measured totals from the mapping stage
Stage 5, Sourcing, install, and takedown. The plan drives the shopping list, the install order, and the takedown order. Label every strand and controller by zone so next season’s setup is a re-install, not a redesign.
Sketch your house from the street. Mark the focal point. Everything else supports it.
Pro Tip
Walk to the street and take a photo of your house at dusk. Sketch your plan on top of that photo. You will catch rooflines and outlets you forget when you plan from memory.
Walk to the street and take a photo of your house at dusk. Sketch your plan on top of that photo. You will catch rooflines and outlets you forget when you plan from memory.
Key Takeaway
The deliverable of the design stage is not a shopping cart, it is an approved concept image and a one-page plan. If you cannot show someone the plan, you do not have one yet.
The deliverable of the design stage is not a shopping cart, it is an approved concept image and a one-page plan. If you cannot show someone the plan, you do not have one yet.
Mapping and Measuring Christmas Lights Across Your Property
Mapping and measuring Christmas lights is simple math done before you climb a ladder. Measure each run, add it up, then add extra for peaks, dips, and connections. Never buy based on the length of your house alone.
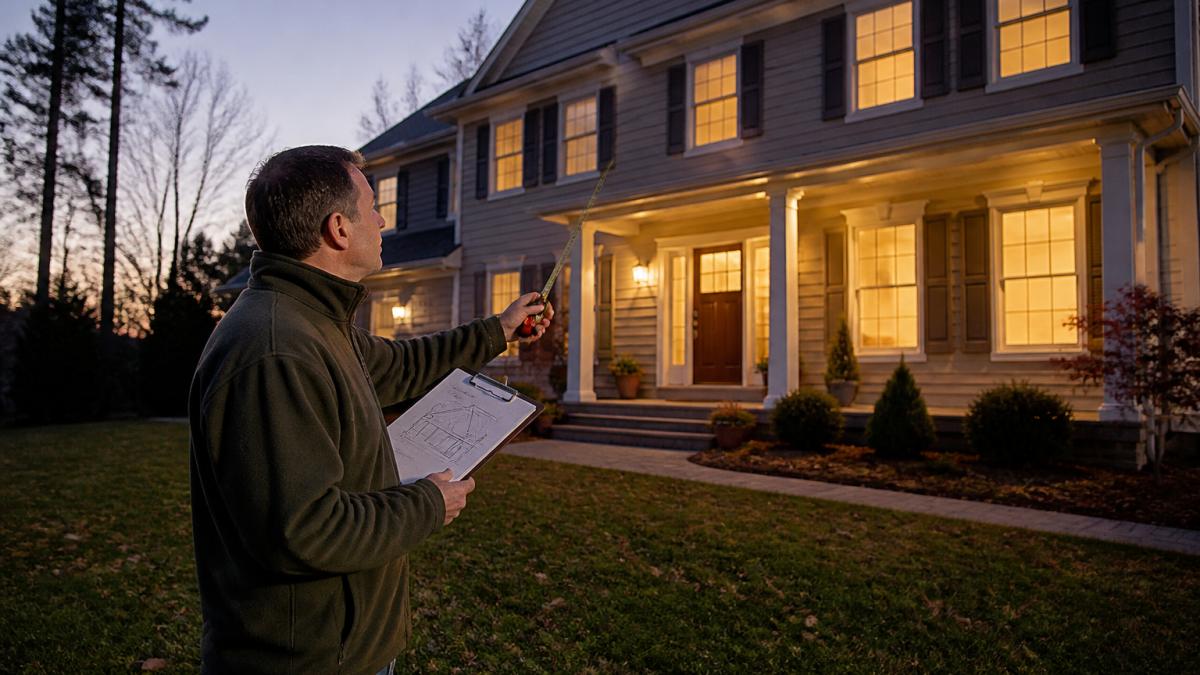
Work one zone at a time:
- Roofline: measure the full run along the eaves, plus the peaks and valleys
- Entryway: measure the door frame and any porch columns
- Windows: measure the perimeter of each frame you plan to outline
- Trees and shrubs: wrap height and width, then estimate the wrap count
- Walkway: measure both sides if you plan to line them
Add 10 to 15 percent to every total. You will thank yourself later.
The Electrical Safety Foundation guidance on outdoor wiring is worth a read before you plan any power runs. It covers the basics of outdoor circuits and cord safety.
Build a Holiday Light Display Layout That Looks Cohesive
A holiday light display layout works when one style rules the whole yard. Pick a color plan, pick a light type, and repeat both across every zone. Mixed styles read as clutter from the street.
Layered lighting is the trick. Build it in three levels:
- Base illumination: steady strands along the roofline and walkway
- Accent lighting: wreaths, window outlines, and small features
- Focal points: one big piece, like an animated sculpture or a lit arch
Texture and atmosphere come from mixing steady lights with a few animated pieces. Too much animation and the eye has nowhere to rest.
Color washes on trees or walls can tie the whole scene together. Keep the palette to two or three colors, then let the focal point carry the show.
Key Takeaway
One focal point, one palette, three layers. That combination looks professional in almost any yard.
One focal point, one palette, three layers. That combination looks professional in almost any yard.
Choose Lights, Clips, and Outdoor-Rated Equipment
Outdoor-rated equipment is not optional. Every strand, cord, clip, and controller you use outside should be rated for wet and cold conditions. Indoor gear fails fast when the weather turns.
Here is what to buy for each job:
| Item | What to Look For | Why It Matters |
|---|---|---|
| Light strands | LED, outdoor-rated, end-to-end connectable | Runs cooler and uses less power |
| Roof clips | Clips made for your shingle or gutter type | Holds without nails or damage |
| Extension cords | Outdoor-rated, correct gauge for the run | Prevents overload and tripping |
| Controllers | Smart controls with weatherproof housing | Handles synchronized display timing |
| Timers | Outdoor-rated, programmable | Cuts energy use and hassle |
LED lights cost more up front and use far less power than older bulbs. They also stay cooler, which matters when strands sit against wood or shingles.
Smart controllers let you run a synchronized display with music. That is a bigger project, so plan the controller placement before you buy.
DIY vs. Professional Christmas Light Installation
DIY vs. professional Christmas light installation comes down to three things: your comfort on a ladder, your time, and how complex the design is. A single-story roofline with a few windows is a weekend DIY job. A two-story home with peaks, trees, and an animated centerpiece is a different animal.
Choose DIY if you:
- Have a single-story home with simple lines
- Enjoy the setup and have a safe ladder
- Want to reuse the same design next year
Choose professional installation if you:
- Have steep or tall rooflines
- Want a custom design with synchronized elements
- Would rather not handle ladders or wiring
Many homeowners land in the middle. They handle the ground zones themselves and bring in help for the roof. That split keeps the project safe and still saves money.
Safety is the deciding factor, not pride. Falls from ladders send thousands of people to the hospital every year, according to CDC data on fall injuries. No display is worth that risk.
Power, Safety, and Weatherproofing Your Custom Display
Power requirements trip up more displays than design ever does. Add up the wattage of every strand and controller, then compare that total to your circuit capacity. A standard home circuit handles a set amount, and going over it blows fuses.
Here is the math most guides skip. In the United States, a standard 120-volt household branch circuit is typically rated at 15 amps or 20 amps. Watts equals volts times amps, so a 15-amp circuit tops out near 1,800 watts and a 20-amp circuit near 2,400 watts.
Do the math before installation day:
- Check the wattage printed on each strand, controller, and inflatable
- Add every item on that circuit together
- Keep the total under 80 percent of the circuit’s rating
- Split the display across multiple circuits if needed
- Use a GFCI outlet or GFCI-protected receptacle for anything outdoors
Circuit planning. Identify which outlets share a breaker before you plug anything in. A common pattern is that the front porch outlet and the garage outlets sit on the same circuit, so a display split across both is really one load. If your panel is labeled, read it.
Weatherproofing connections. Outdoor-rated does not mean waterproof at the plug. Keep every connection off the ground and oriented so water runs away from the plug body. Use outdoor-rated connection covers or wrap plugs with outdoor-rated electrical tape, and use only cords marked for outdoor use. Never bury an extension cord, and never run a cord through a doorway where it can be pinched.
Safety during installation. Falls from ladders send thousands of people to the hospital every year, according to CDC data on fall injuries. The Electrical Safety Foundation guidance on outdoor wiring covers outdoor circuit and cord basics worth reviewing before you plan power runs. The NFPA guidelines on seasonal lighting address safe use of decorations and electrical connections.
Code compliance and risk management. Follow local requirements for outdoor receptacles and GFCI protection, and check your homeowner association rules before you install, many restrict light color, run hours, or attachment methods. Use clips rated for your surface rather than nails or staples, which damage shingles and gutters and can void roofing warranties.
Watch Out
Daisy-chaining too many strands into one outlet is the top cause of blown fuses and melted plugs. Split the load across circuits and check the rating on every strand.
Daisy-chaining too many strands into one outlet is the top cause of blown fuses and melted plugs. Split the load across circuits and check the rating on every strand.
Installation Day: Attach, Test, and Troubleshoot
Installation day goes fast when the plan is done. Start with the base layer, then add accents, then place the focal point. Test each zone as you finish it instead of waiting until the end.
Follow this order:
- Roofline first. Clip strands along the eaves, following your measured runs.
- Entryway and windows next. Outline the door frame and window perimeters.
- Landscape and trees after. Wrap trunks and branches, then line the walkway.
- Focal point last. Place and secure the centerpiece where it shows best.
- Test each zone. Plug in and check for dead sections before moving on.
If a section stays dark, check the connection first, then the fuse in the plug, then the strand itself. Most failures are loose plugs, not dead lights.
Use roof clips that match your surface. Nails and staples damage shingles and gutters, and they void most roofing warranties.
When the season ends, take everything down in reverse order. Label each strand and zone. Store controllers indoors in a dry bin.
Conclusion
The hardest part of a custom outdoor holiday light design process is not the wiring or the ladder work. It is committing to a plan before you buy a single strand. Homeowners who sketch first, measure second, and shop third end up with displays that look intentional instead of improvised.
At The Holiday Light Store, we build handmade, powder-coated outdoor light sculptures made in the USA, with animated designs that hold up season after season. Our pieces are built to dazzle for years, not one winter. If you want a display your grandkids will remember, start with a focal point worth building around.
Get started with The Holiday Light Store and find a centerpiece that anchors your whole design.
Frequently Asked Questions
How do you plan an outdoor holiday light display?
Start by walking your property at dusk and noting the architectural features you want to highlight, such as the roofline, entryway, windows, and trees. Sketch a rough holiday lighting design plan, then measure each run so you buy the right number of strands. Decide on a color palette and whether you want steady or synchronized lighting. Finally, map your outlets and confirm your electrical load before installation day.
What should you measure before designing a holiday light display?
Measure the full length of every roofline, the height and width of windows and door frames, the circumference of tree trunks and branches you plan to wrap, and the distance from each lighting zone to the nearest outdoor outlet. Add 10 to 15 percent extra to every measurement for slack, clips, and connection points. Accurate mapping and measuring Christmas lights prevents mid-installation store runs and keeps your layout symmetrical.
Should you hire a professional to design and install holiday lights?
It depends on your comfort with ladders, electrical connections, and heights. Professional installation suits two-story rooflines, steep pitches, and complex animated displays, and many companies handle design, installation, maintenance, and takedown. DIY works well for single-story homes, ground-level accents, and homeowners who enjoy the process. A middle path is installing fixtures yourself with a clear holiday lighting design plan.
How long does it take to plan and install a custom holiday light display?
Planning typically takes one to two evenings: measuring, sketching your layout, and ordering equipment. Installation for an average single-family home runs four to eight hours for a moderate display, while elaborate rooflines, trees, and synchronized controllers can take a full weekend or more. Build in extra time for testing every strand before it goes up, and plan takedown before winter storms arrive.
